UPDATE: |
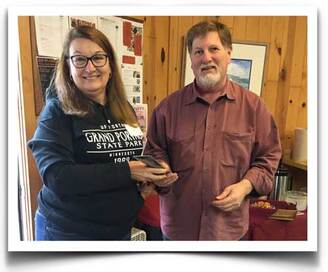
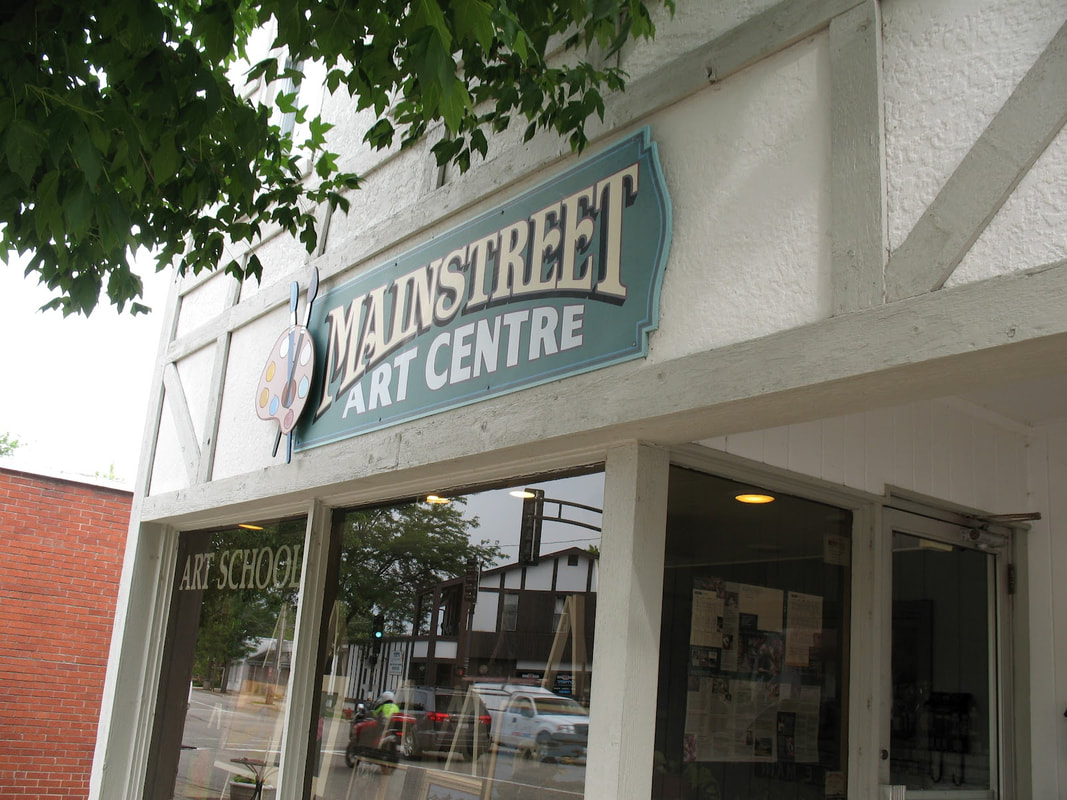
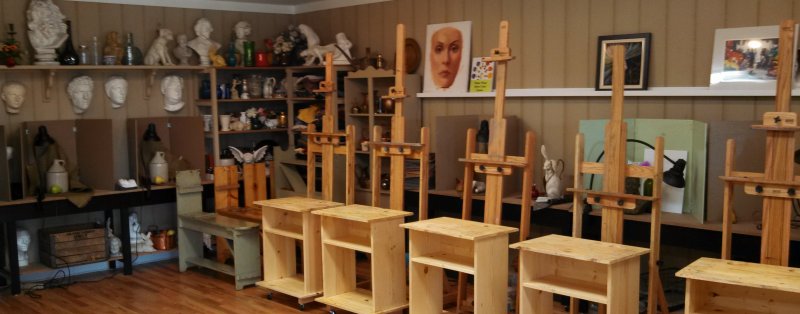
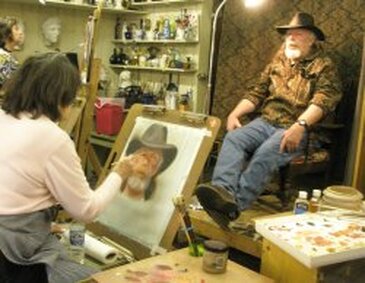
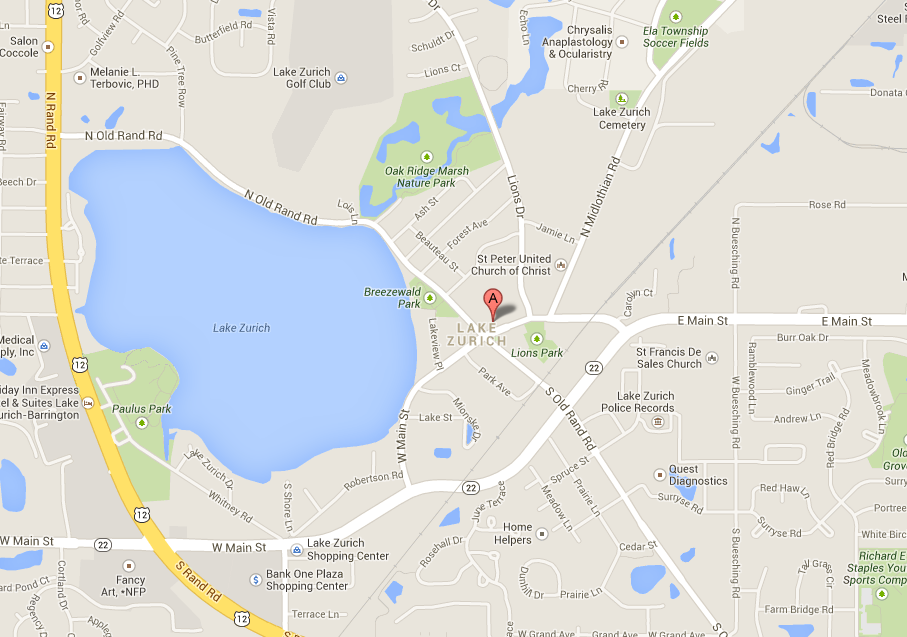
| First of all, Mainstreet is nestled in the quaint town of Lake Zurich, IL. Frankie Johnson, Owner, and Director has owned Mainstreet for almost 26 years. She is an accomplished master painter with over 40 years of experience in oil painting and pastels. She shares this knowledge with her students and it shows. I am always amazed at the talent that comes out of this art school Checkout Frankie's personal studio site. www.frankiejohnsonartstudio.com |
Let me show you how to ignite your passion for watercolor. In this 3-day workshop, the student will experience my unique step-by-step instruction in transparent watercolor. Exploring the beauty of nature, and gain a deeper, richer understanding of the techniques, properties, and tools of this unique medium. Students will learn how to block in the painting, interpret color, values and temperatures. Use different processes of watercolor: work wet-into-wet as well as wet-on-to-dry. Understand the importance of a focal point and how to place it. He will also share his secrets to bring your painting to a new level.
Landscape photo references will be supplied by the instructor. Supply list will be handed-out at registration. If you have any questions please email me.
|
|
On Sunday evening Dillman’s Artist Workshop Retreat kicked off the four workshops with a Welcome Reception or as I call it a meet-and-greet which consisted of wine and appetizers. This was a great time to connect with my students and other instructors. Dillman’s owners, Sue and Denny Robertson introduced all the instructors – I was in good company:
- Janet Rogers, Watercolor
- Don Andrews, Watercolor
- Helen Klebbesadel: Mixed Media
We finished the evening with a great catered dinner of salmon, roasted chicken, wild rice, roasted Brussel sprouts, and Caesar salad. This was followed by freshly brewed coffee and a selection of amazing desserts. Sue and Denny and their family Stephanie and Todd sure know how to through a party and make everyone feel right at home!
MORNING SESSION: NO PENCIL DRAWING EXERCISE
Sap Green
Ultramarine Blue
Cobalt Blue
Burnt Sienna
Raw Sienna
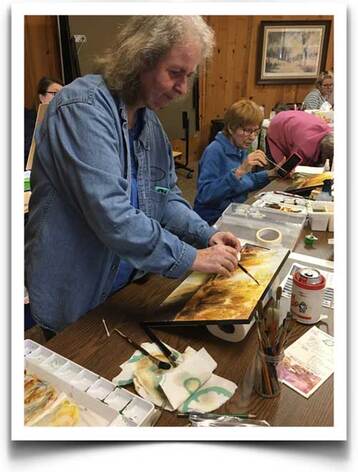
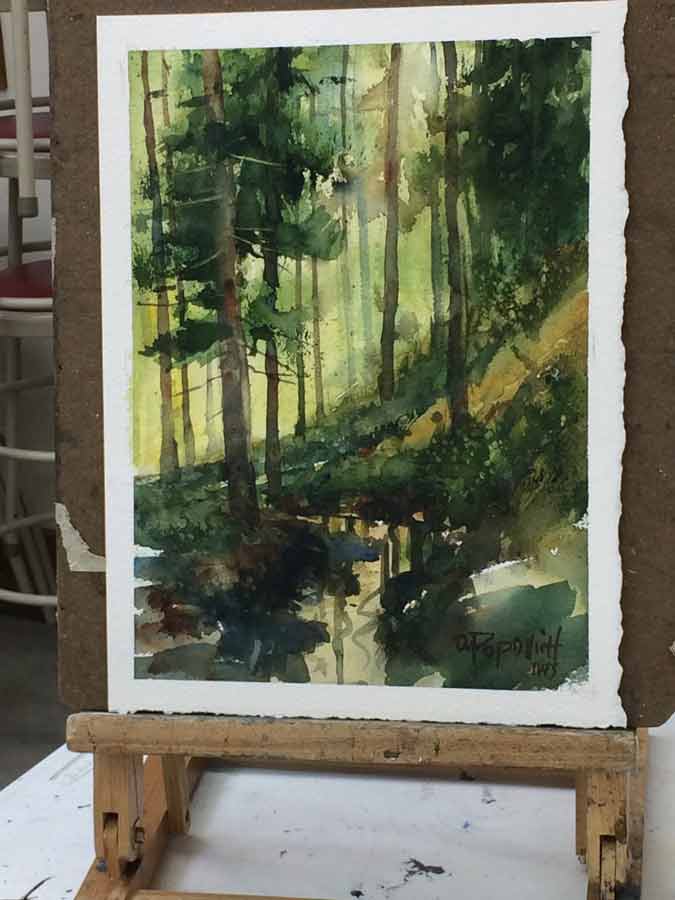
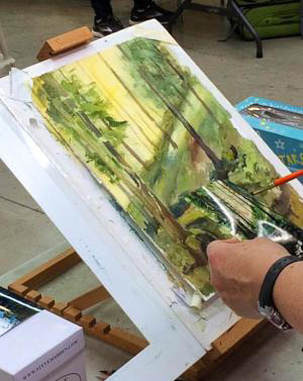
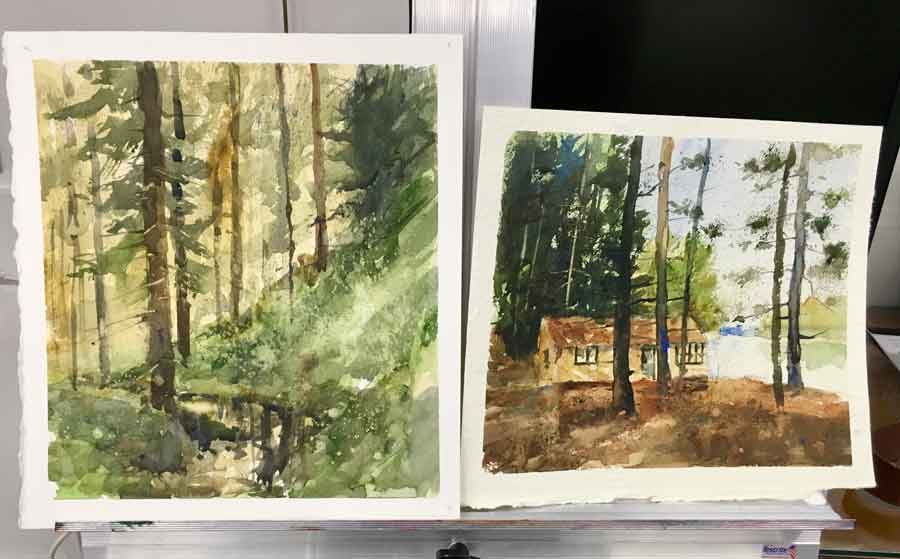
We pushed up our sleeves started working on a watercolor painting of a woodland scene that had strong light and dark patterns. It was a photo with pines and a slight haze in the background. I selected this exercise because nature is very forgiving. First, I told the group that we would just start painting. Yes, this exercise was free form—no drawing. We block in to begin the process of building a painting. While we painted the painting I had the student pay close attention to the light and dark masses. These set the foundation for building the secondary masses to apply the detail.
I wanted my students to paint the very first impression of the light and dark patterns of this photo. In the three-step process, I show the students a very simple process on how to build a painting. Once all the large and secondary masses were complete the detail applied.
Cadmium Yellow
Ultramarine Blue
Cobalt Blue
Alizarin Crimson
Burnt Sienna
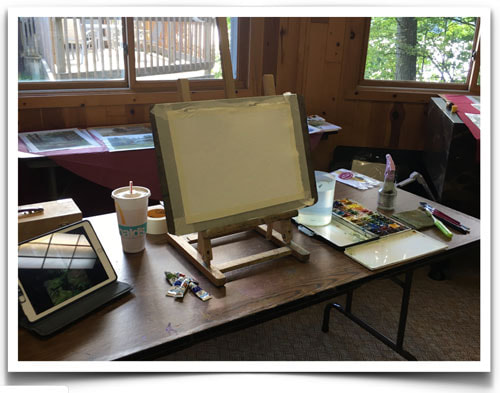
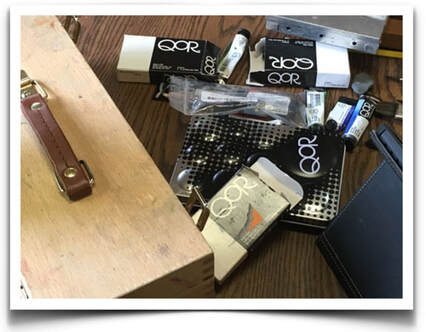
Next, I demonstrated with a new paint I was introduced to earlier this year at the Watercolor Society of Indiana. They had a guest speaker, Valerie Allen from Golden Colors talking about their products. It takes a lot to impress me – I’ve been painting for 43 years and I thought I had seen it all. I stand corrected! I have fallen in love with QOR Watercolors.
I did a short talk about QoR brand followed by a demonstration using these quality watercolor paints. To learn more about QoR read my blog post and watch my video review. Here’s a link to my supply list and my go-to QoR paints.
This photo was taken last fall in Marenisco on old rt. 2 along the Presque Isle River, Michigan. QoR’s watercolors intensity was perfect for this particular subject. I painted full force, no graying of color as you can see this was a very intense fall scene and very fitting to show off the quality of QoR watercolor paints.
The second phase I slowly grayed down the shadow areas and added more color to the light areas to pump the intensity.
Final, I put in the extreme darks in the river. Adding intense colors in the water and finally took the position of the trees to support the composition of the foliage.
MORNING SESSION: SNOWY WISCONSIN RIVER
Colors:
Sap Green
Ultramarine Blue
Cobalt Blue
Cerulean Blue
Raw Sienna
Burnt Sienna
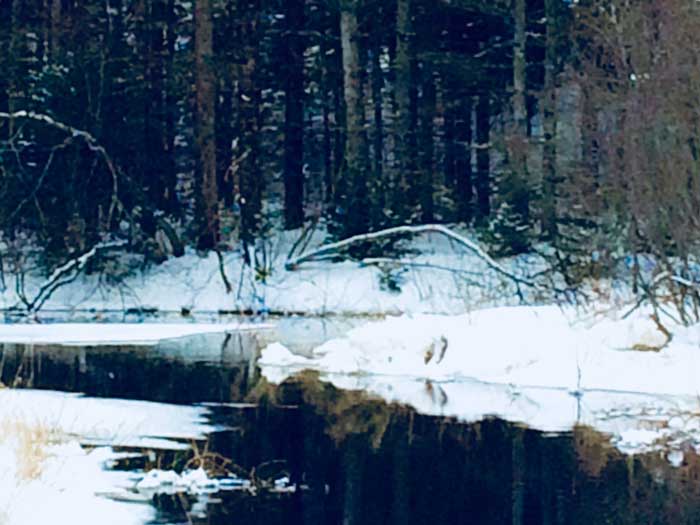
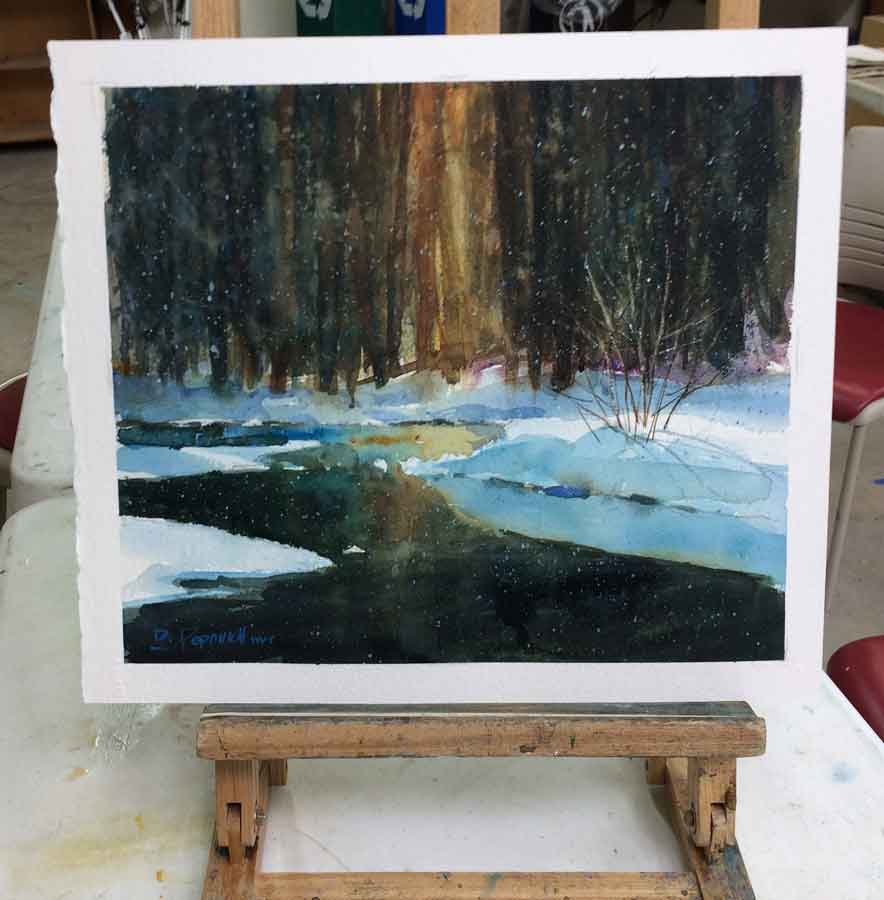
The first painting of the second day was a winter photo of the headwaters of the Wisconsin River. This was taken on New Year's Day a few years back. Marilee and I make it a point to visit this area every year on .the first of January.
During this exercise my students did a very basic line drawing using no more than five lines. Before painting, I explained in the winter white snow or objects appear cooler in temperature near you and gets warmer as it recedes away.
I also explained the temperature differences between ultramarine blue, cobalt blue, and cerulean blue.
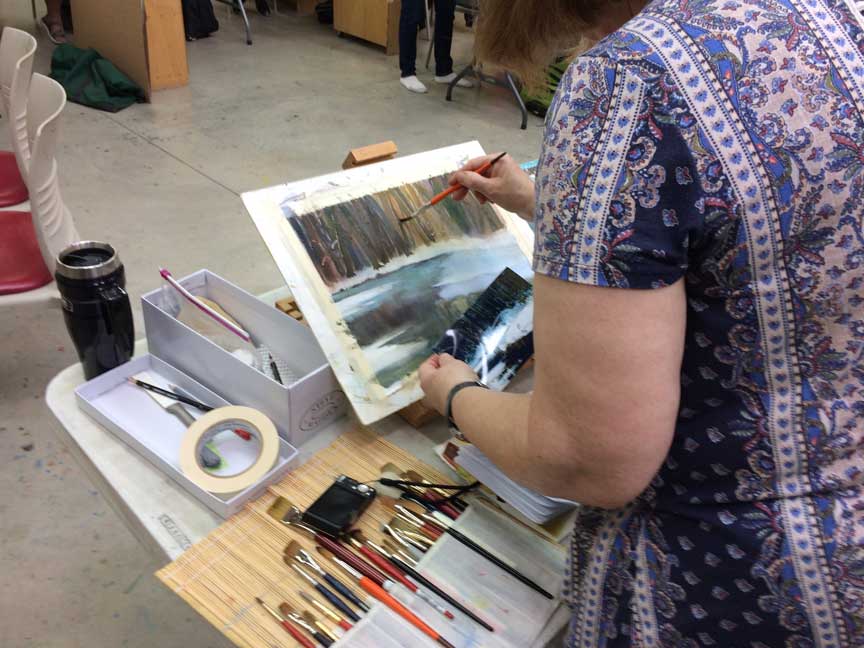
I started by blocking in the background with a combination of ultramarine and cobalt blues with a touch of sap green. Then came forward using cobalt and cerulean through the river and bits of the foreground.
The second wash I begin building the tree masses allowing the first wash to show through to help create distance. Then brought those colors down into the river which would reflect all the colors up above in the background.
For the final wash, I approach the painting by going back to the background, adjusted for darker values, putting in details on the bank of the river and worked into the river. I again used combinations of all colors not covering all previous washes allowing them to show through to add depth, texture, and interest.
SWAMP
Colors:
Sap Green
Ultramarine Blue
Burnt Sienna
Raw Sienna
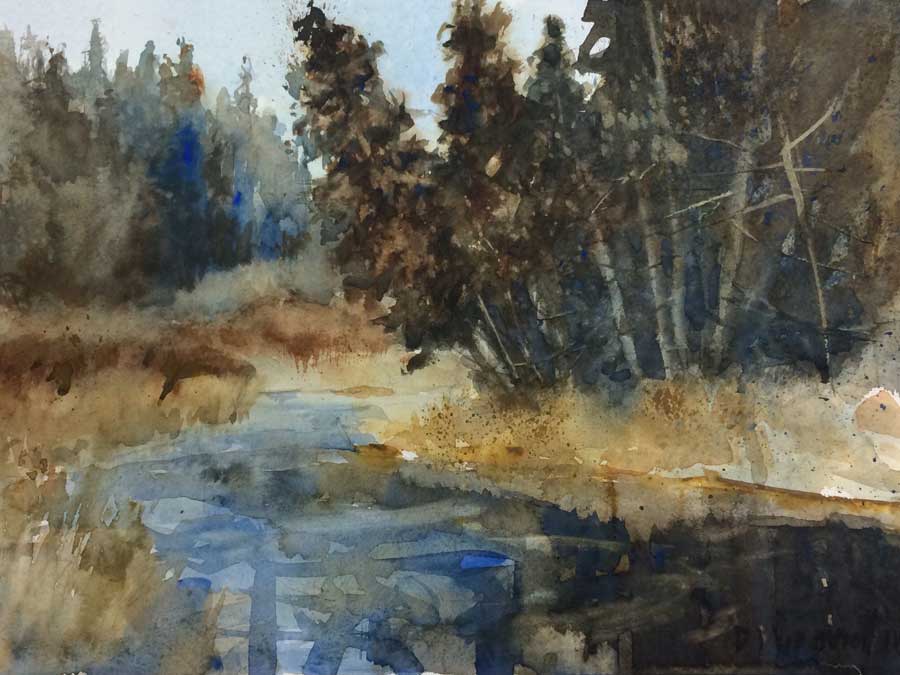
This particular exercise was also painted freeform meaning no drawing just painting the large light and dark patterns. I started with my usual block in method by painting from background to foreground and large areas to small areas. I washed in the cool gray down colors in the background working forward two more intense and darker color.
When everything was in place and the block in was dry I began placing the masses of trees, forming the shorelines and giving movement to the water. I finished up by placing larger trees in the foreground.
To finish up I added details to the trees, more emphasis on the shoreline and a few accents of color.
MORNING SESSION: FARMSTEAD IN THE WOODS
Colors:
Sap Green
Ultramarine Blue
Cobalt Blue
Burnt Sienna
Raw Sienna
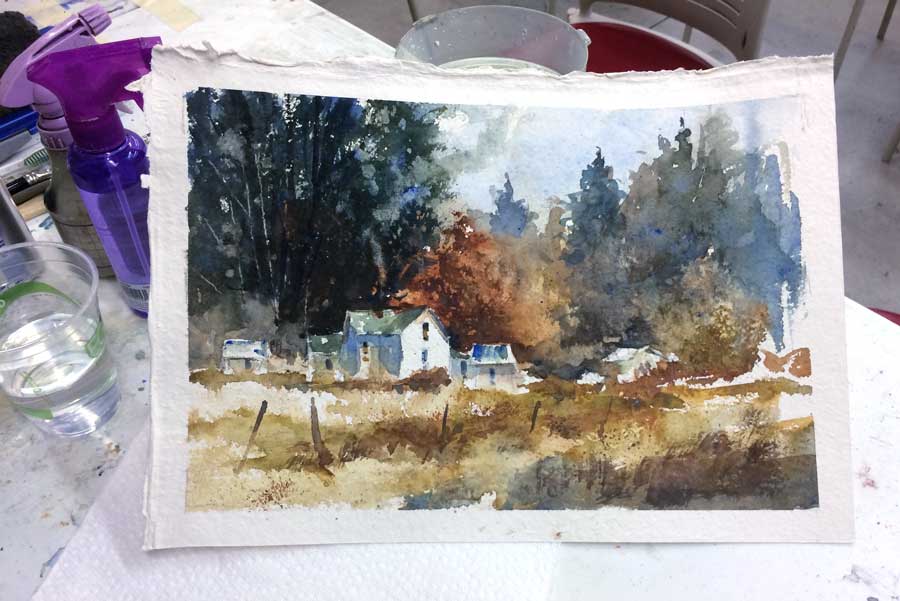
I’m quite familiar with this is a subject as it is a couple miles through the woods from our cabin. I often wonder the history of the land, the hardworking people that owned it and who works the land today.
I begin this painting by washing in the sky in the background. Then coming through the trees while the sky was still wet and into the foreground grasses. Finishing up with a light tint on each building.
My plan of action for the second phase of the painting was to place a stronger emphasis on the bows of the pines coming down to the buildings separating light from shadow. Continuing on to the foreground I had it textures and defined the road leading to the garage. While the foreground was still wet I speckled it with my toothbrush using all colors on my pallet to help unify the painting.
I finished up the painting by adding the trunks of the trees, accents of color around it on the focal point and shadows across the roofs of the buildings.
Colors:
Sap Green
Ultramarine Blue
Alizarin Crimson
Burnt Sienna
Raw Sienna
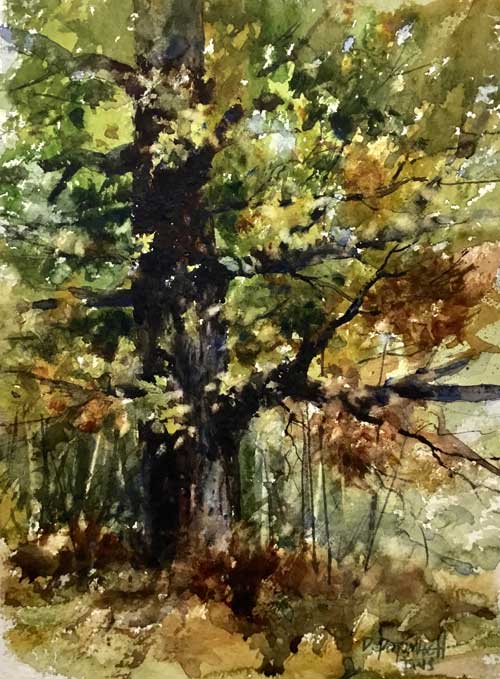
I have to apologize I didn’t take any photos of this painting stages, a grand old oak. I got so wrapped-up in demoing and instructing that I just plain forgot. I once again used Indigo paper. In fact, Denny stopped in with our afternoon snacks. He is also an accomplished watercolorist and was quite interested in this handmade paper. I gave Denny a sample for him to experiment with. If you want to take Indigo paper for a test drive you can only find it online at Dick Blick’s.
I began by blocking in all the foliage of the tree and underneath, the background and then the foreground. I went back into the foliage modeling the dark areas forming some of the leaf patterns and cooling things down in the shadows.
The second phase of this painting was to form the trunk and branches weaving in and out of the mass foliage. Picking and choosing where branches go is according to the pattern in which was created. The tree trunk was moved slightly to the left, smaller branches were added, and I use my toothbrush for a spattering of lighter value color and accents to the darker areas.
The third phase of this painting was to initiate detail in the trunk, darken some of the branches and finally, working on the foreground adding textures of the grasses and ferns.
MORNING SESSION: SNOWY ROAD
QoR Colors:
Sap Green
Ultramarine Blue
Manganese Blue
Alizarin Crimson
Burnt Sienna
Raw Sienna
I instructed the students to take great care in drawing the road to get the perspective correct. A small building was added at the end of the road and I also added a figure walking up the road. As you will notice both additions were not in the photo but I told my students before you start you must determine not only what story you want to tell, but how, why and with what visual qualities.
I began by washing in the sky gray is blue in the background quickly adding the treetops of the pines coming down to the foliage which has a slight crimson color. Then down to the foreground adding in the warmth of the grasses paying very close attention to the delineation of the road.
Going back to the pines in the background taken care of forming the tops of the pines for better identification washing down into the pines where they overlap taking a little bit less care on the actual form but paying attention to the masses. Then came down to the area below it painting in a gray down crimson color adding blues and yellows towards the bottom. From there I began forming the grasses in the lower right-hand corner allowing the white of the paper to create the snow. Working across to the road again paying attention to the perspective of the road. I added a wash of raw and burnt siennas warming the road as it came closer.
Finally adding details of small trees, smoke from the cabin and a figure walking down the road. I decided to add a wash of shadow across the foreground to indicate the coolness of the scene.
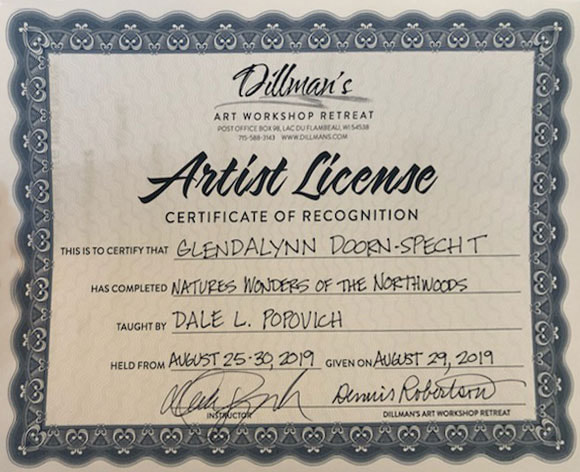
After lunch, Dillman’s had a Farewell Reception and Show & Tell in the lobby. The faculty introduced each of their students and the students shared one piece of work from the workshop. They also received an Artistic License which was a nice token of their this lovely memory. Did I mention we toasted each other with champagne and tasty desserts?
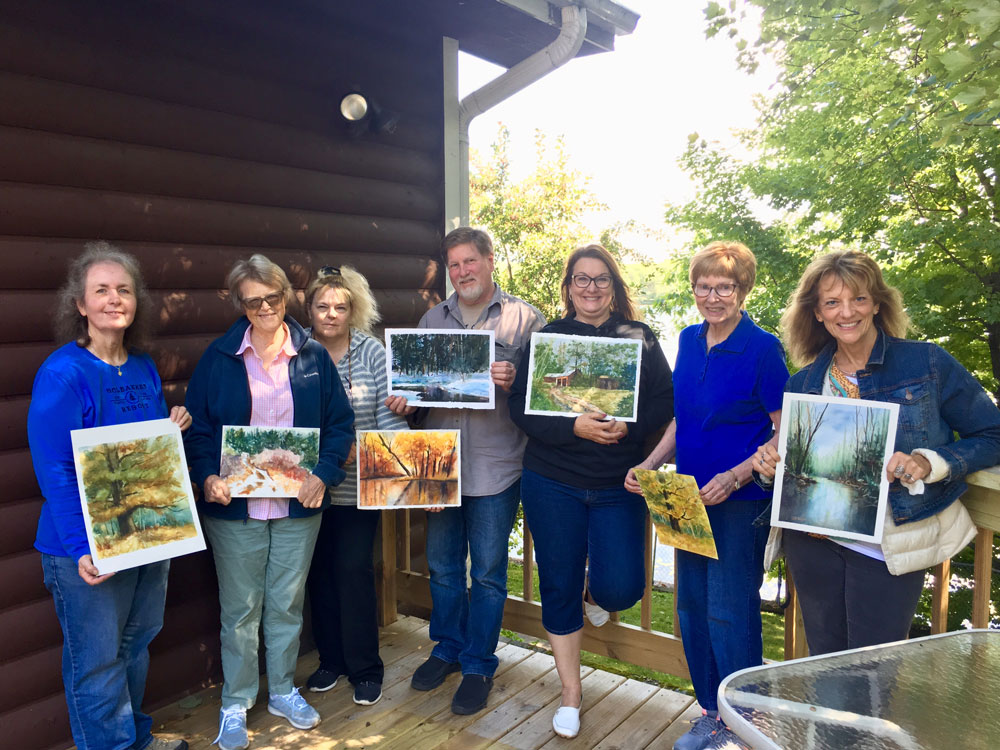
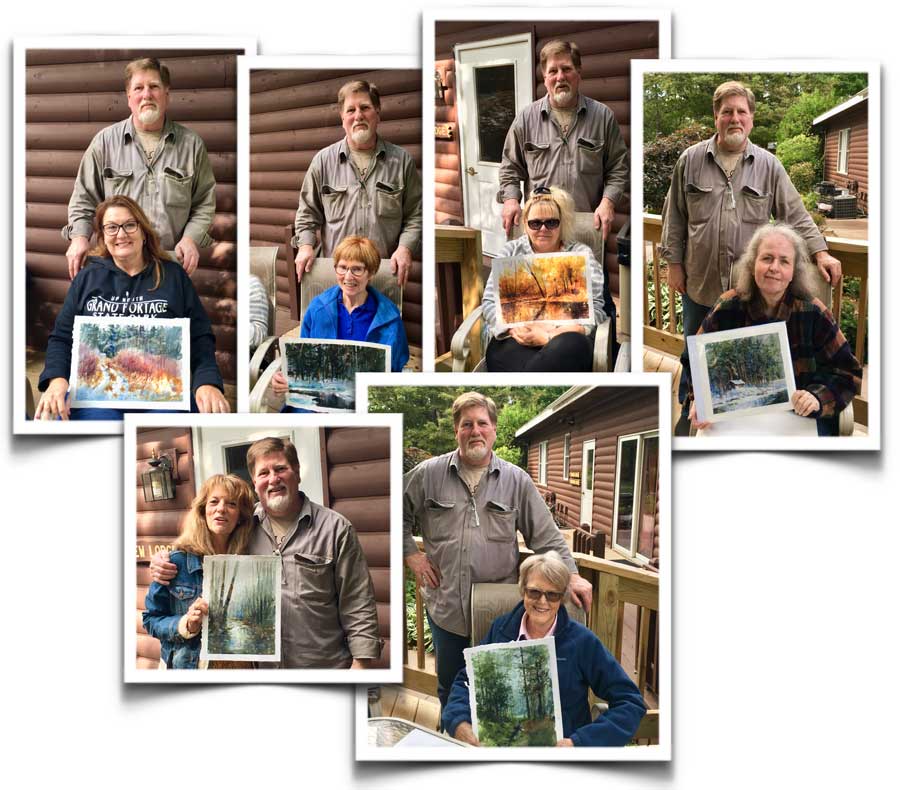
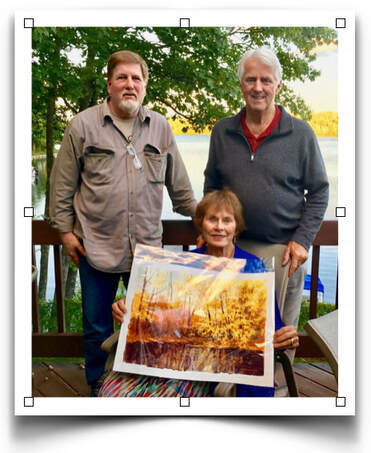
In the afternoon the students chose to have a critique of their work. We meet on the deck enjoying the lovely Great Northwoods late August weather. I surprised my students and gave each one of a demo from the workshop. I enjoy talking to them individually, getting to know them and helping them to truly see the beauty of watercolor. I had fun instructing each one of the students – boy did the time fly. A great memory of a wonderful workshop.
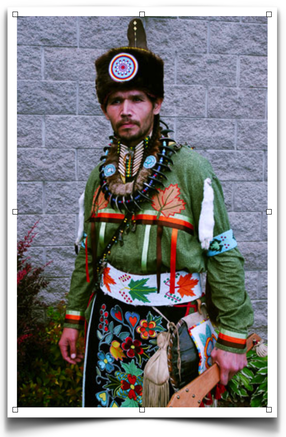
| SIDE NOTE In Janet Rogers, Watercolor Portrait Workshop Denny arranged for a model, Garett a Native American and resident of Lac du Flambeau Band of Lake Superior Chippewa Indians to model in full garb. The Lac du Flambeau Band of Lake Superior Chippewa called Waaswaaganing in Ojibwe are a federally recognized Ojibwa Native American tribe, with an Indian reservation lying mostly in the Town of Lac du Flambeau in south-western Vilas County, and in the Town of Sherman in south-eastern Iron County. His costume was traditional and the colorful detailed beadwork and clothing were created by his wife, mom, and grandma. This was an art in itself. Beautiful. |
From there we went to the pizza party in the lodge celebrating a wonderful time with all the students and teachers. This workshop was an incredible experience which I hope you can experience someday.
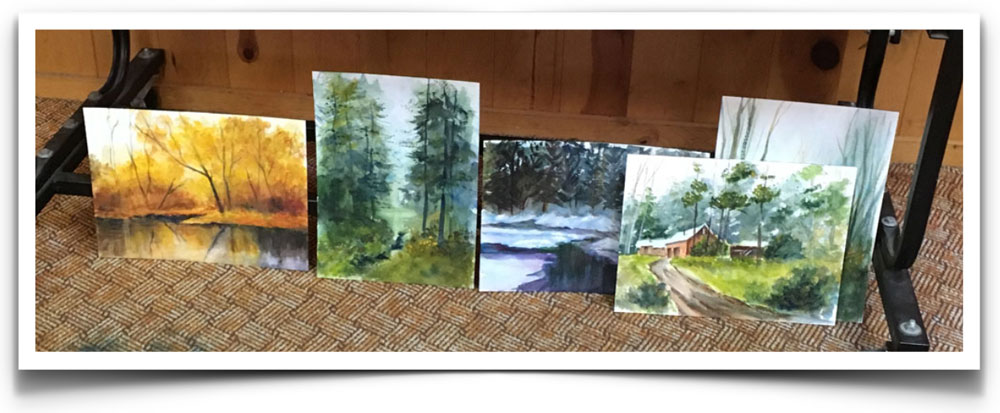
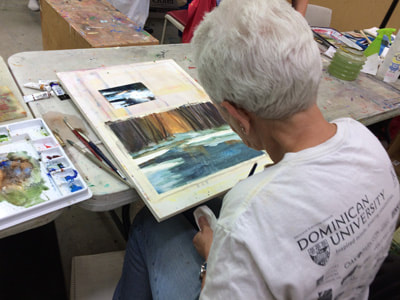
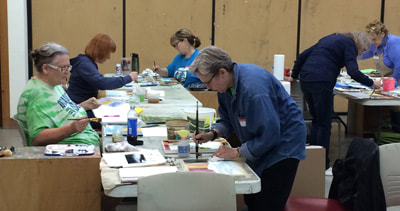
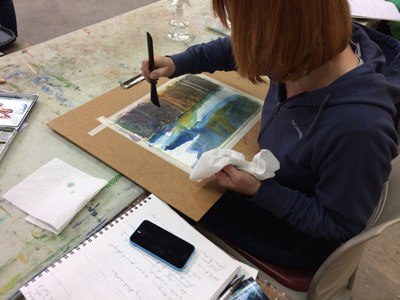
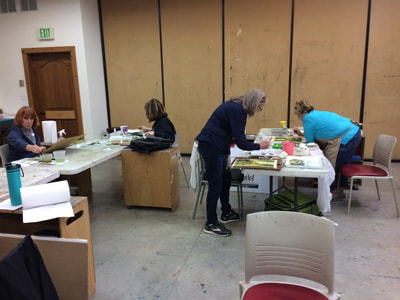
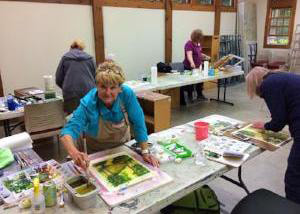
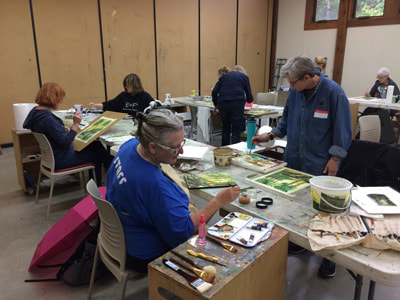
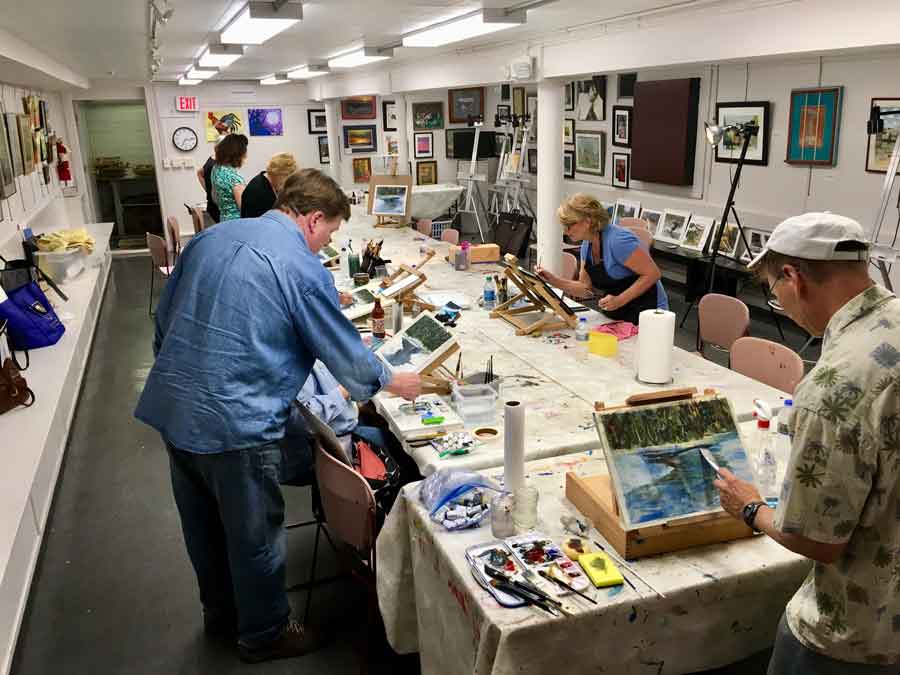
I had six wonderful students from limited ability to advanced ability. My focus in this workshop was painted large areas of darks and lights, learning how to build the painting from the background to the foreground. Details or put in at the very end of the demonstration. Each demonstration I did for about 10 to 15 minutes and would stop allowing the students to simulate I was just demonstrated. This procedure demonstrating is what one would call a paint-along or a step-by-step instruction. We did many types of scenes from autumn, winter, spring, and summer with water, snow, and foliage – all the splendor of the Great Northwoods.
Everybody had a wonderful time during the four days and the class did a total of seven paintings.
Dillman’s is an experience by itself, they made you feel like family. Denny and Sue introduced all the instructors to the students of all classes so you could become familiar with other teachers. You could have dinner with Denny, the teachers, and students every night if wish go. There was an amazing turnout of 25 folks each night. One day at lunch Captain Denny took a group on a noon boat ride on a pontoon. The care that Denny and Sue take with the faculty and the students that attend the workshops was above and beyond any other workshop that I’ve given. They are unrivaled by any workshop I have seen attended or heard about. At the end of the four-days, they had a show & tell for the students and faculty each student received an artistic license which is a nice token of their this lovely memory.
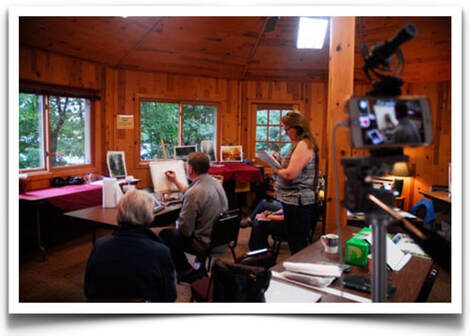
Dale provided frequent but short demonstrations, supplemented with explanation as he painted. Immediately following each demo, students painted that portion of the scene while it was fresh in their mind. As students painted, he constantly circulated, offering help whenever needed.
Dale Popovich created a positive class atmosphere in which students were free to ask questions (some with light-hearted bantering while they learned}. Each student came away with demonstrable accomplishments and, most important, a feeling of inspiration."
– Marion Wiley
2019 Watercolor Workshop at Dillman’s Bay Resort
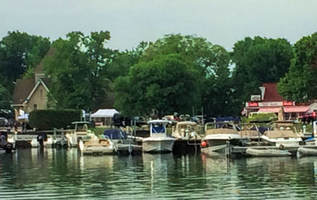
Considering how many miles I have clocked in traveling to Wisconsin this was the first time I experienced the quaint charm of Door County. Picturesque scenes were suitable for a postcard or better yet an afternoon of plein air painting.
In this hands-on workshop, my students gained a foundation and more in-depth understanding of the elements and techniques of transparent watercolor. They discover the unique properties of the medium, as well as how to control and use them to their advantage concerning landscape painting.
During the two-days, they learned how to use their materials effectively, interpret of color, create a working composition, and build a successful painting from start to finish through demonstrations and guided exercises. I supplied photo references for various types of landscapes.
I encourage my students to take photos and videos – as much as they want. The combination of taking notes, pictures, hands-on painting and the final critique produces a good learning experience that the student retains.
DAY 1
Paper:
- Indigo
- Sap green
- Burnt sienna
- Raw sienna
- Cobalt blue
Paper:
Hot press Arches
Colors:
- Sap green
- Burnt sienna
- Raw sienna
- Cobalt blue
Paper:
- Cold press Arches
- Sap green
- Burnt sienna
- Raw sienna
- Ultramarine blue
- Yellow medium
DAY 2
Paper:
- Hot press Arches
- Burnt sienna
- Raw sienna
- Ultramarine blue
Paper:
- Indigo
- Raw sienna
- Sap green
- Ultramarine blue
I'm sorry we didn't have an extra day or two to continue – I felt like I was just getting to know you. What a talented group of artists.
Class was a lot of fun. I plan to rework the “paint-along” pictures done in class.
– Judi P
Thank you! I will try to practice what you showed us. I wish we had had more time too. I had a wonderful time in class. You had many life lessons along with watercolor techniques. Thank you. I look forward to staying in touch.
– Andrea N. B.
"I just wanted to say again how much I enjoyed your watercolor workshop this weekend in Fish Creek, WI. I learned a lot and appreciated your personable and easy-going style. I also was impressed with the way your critiqued our work, constructive and encouraging. It really helped me to think of ways I can improve my landscape painting." |
I started this demo off with Indigo paper which is around 240 lb. It has a handmade feeling with a nice rough texture to it. It’s a softer paper, so you have to be careful when lifting—you have to use a soft brush.
This full-day workshop was crafted into three demonstrations. I wanted to share the differences of watercolor papers and how to chose your subject material that best suits the watercolor paper. As far as paints I explained to my students what you get out of a limited palette versus a full color. The first two demos took around 45 minutes. Finally, I like to have paint-a-longs because the student catches on faster by watching and then doing rather than just observing. This way I can guide them through the painting and help them through the process.
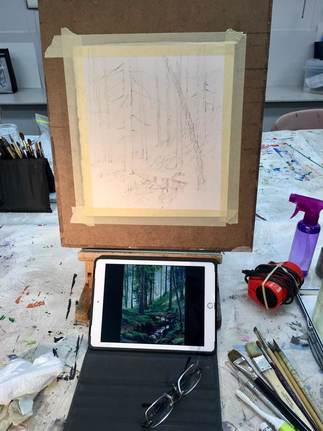
Demo #1: I started this demo off with Indigo paper which is around 240 lb. It has a handmade feeling with a nice rough texture to it. It’s a softer paper, so you have to be careful when lifting—you have to use a soft brush.
- Limited color:
- - Sap green
- Raw sienna
- Ultramarine blue
The limited color approach showed the students using this color palette they could create the illusion of full color.
This was a full-color study (note: full color is denoted by six color or more.) Adding just two more colors showed just a hint more variety of colors and helped accentuated temperature changes.
Full color:
- Sap green
- Olive green
- Burnt sienna
- Raw sienna
- Cobalt blue
- Ultramarine blue
The Paint-A-Long:
The afternoon demo was on 300 lb Arches cold press. This paper has a rougher surface and can take a good scrubbing. I felt the subject matter lends itself to it – the roughness would add an extra dimension.
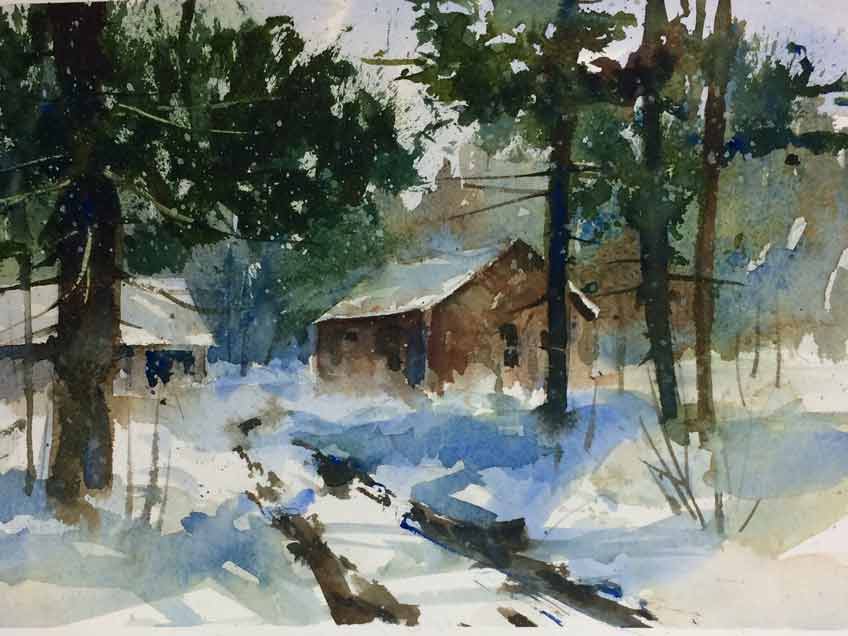
Finally, I firmly believe in the paint-a-long when teaching students. It’s a step-by-step instruction of how to build a painting. I selected a snow scene to help my students understand how temperature worked with the white of the snow.
- Cobalt blue
- Ultramarine blue
- Burnt sienna
- Raw sienna
- Sap green
- Alizarin crimson
BROWN COUNTY FACT:
There are more artist per capita than anywhere else in the Midwest. WGN recently did a beautiful news story about Brown County titled 'The Little Smoky Mountains: Indiana's beautiful, artistic hill country.'
WATCH THE ARCHIVED VIDEO
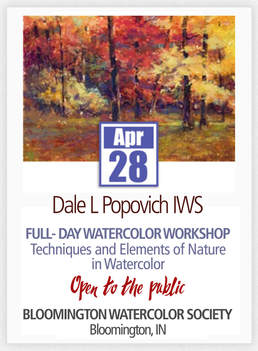
Saturday April 28, 2018
BLOOMINGTON WATERCOLOR SOCIETY
Bloomington, IN
Students should plan on arriving at 9:00am to allow for set up of their supplies. The workshop will start promptly at 9:30am and go to 4:00pm with a 45-minute lunch. From 9:30 to noon. Dale will lecture on the basic principles of watercolor especially related to landscape painting. This would include a couple of demonstrations on:
- nature
- trees
- water
- structures such as a farmhouse
- a small explanation of linear perspective
At noon will be a break for lunch returning promptly at 12:45pm.
In the afternoon students will be provided with a reference photo. This portion of the workshop will consist of a step-by-step painting where Dale will paint the first phase of the watercolor and students will recreate what was demonstrated. Dale will then demo the second phase of the painting, sharing tips and techniques. Students will then paint the second phase. Dale will demo the final phase and students normally are able to complete their rendering of the painting in the allowed time. Dale will provide personal instruction, as needed, while students are painting.
At the end of the day a critique will take place
MATERIALS
Brushes
- 1-inch flat brush
- #nine or #ten round brush
- #five round brush
- an old toothbrush
Transparent Watercolor
- Burnt Sienna
- Raw Sienna
- Ultramarine Blue
- Cobalt Blue
- Olive Green or Sap Green
- Alizarin Crimson
Paper
- 18" x 24" drawing board (Not needed if you are using a watercolor block)
- Arches bright white or natural white watercolor300# paper: approx. 12"x 14"- cold press
- Arches natural white 300# cold press watercolor block: approx. 12"x 14"
Additional Supplies
- Mixing tray
- Cell tray to hold the paint (Please note: these two items may be a combination mixing tray/cell tray)
- Water container
- 3/4" masking tape
- 2-B pencil
- Kneaded eraser
- Paper towels
- Sponge
- Spray bottle
- If they have tabletop easels they can use those
The workshop will be open for enrollment by BWS members on the BWS website on March 24, 2018 at a cost of $145 and if seats are still available on April 14, 2018, will be open to non-members at a cost of $160.
9:00 am - 4:00 pm with a 45 minute lunch break
Fee: $145 member/$160 non-member
First Christian Church
205 E Kirkwood Ave (Kirkwood & Washington Streets)
Bloomington, IN 47408
Contact for more information: [email protected]
bloomingtonwatercolor.org
Map to Bloomington
Dale L Popovich IWS
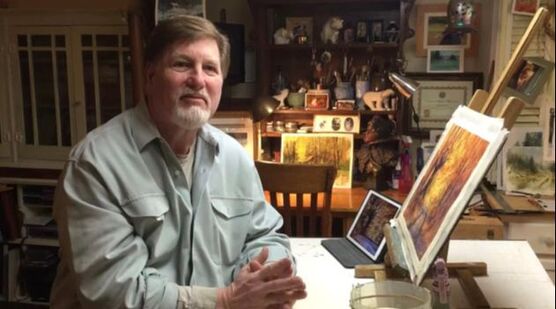
Dale is an award-winning watercolorist and teacher passionate about capturing the raw beauty of the American landscape with the fluid stroke of a brush. As you will see, the works selected in his portfolio represent the depth of his holistic approach to painting. You can also learn with this talented and experienced teacher through his workshops, Palette & Chisel, and Popovich Studio classes.
Archives
April 2024
October 2023
February 2023
October 2021
June 2021
April 2021
March 2021
February 2021
January 2021
August 2020
July 2020
May 2020
April 2020
March 2020
February 2020
October 2019
September 2019
July 2019
June 2019
May 2019
April 2019
February 2019
January 2019
September 2018
August 2018
July 2018
June 2018
May 2018
April 2018
March 2018
February 2018
January 2018
Categories
All
1 Day Watercolor Workshop
1-day Watercolor Workshop
2020 Watercolor Workshop
2021
2 Day Watercolor Workshop
2-day Watercolor Workshop
30 IN 30 CHALLENGE
3 Day Watercolor Workshop
4 Day Watercolor Workshop
Airdrop
Alaska
Alyson A Stanfield
Art Business
Artist Helping Artists
Art League Demo
Block In
Block-In
Books
Brown County Art Gallery
Chesterton Art Center
Chicago
Critique
Dale Popovich
Dale Popovich YouTube Channel
Demonstration
Door County
Drawing
Drawing And Painting
DVD
Elmhurst Artists' Guild
Elmhurst Art Museum
Eric Rhoads
Establishing Secondary Masses In Watrcolor
Facebook Live
Golden Paints
Greens
IL
IN
Indiana Heritage Arts
Indigo Paper
Irving Shapiro
John F Carlson
Judge
Kilimanjaro 300 Lb
Lakeland Art League
Landscape Painting
Leslie Saeta
Library
Linear Perspective
LOLA Land 'O Lakes Arts
Mainstreet Art Center
Margaret Sheldon
McCord Gallery
Nashville
Nature
Next Picture Show
Notan
One Day Workshop
One-Day Workshop
One-Man Show
Online
Paint Along
Paint-Along
Painting Landscapes In Watercolor
Painting Nature
Painting Reflections
Painting Water
Palette & Chisel Academy Of Fine Art
Peninsula School Of Art
Photo Reference
Plein Air Painters Chicago
QoR Watercolors
Review
Robert J Krajecki
Technology
The Final Details In Watercolor Painting
Transparent Watercolor Painting
Value
Values
Voyage Chicago
Water
Watercolor
Watercolor Basics
Watercolor Class
Watercolor Demo
Watercolor Demonstration
Watercolor Escape Saturdays
Watercolor Painting
Watercolor Paints
Watercolor Paper
Watercolor Society Of Indiana
Watercolor Studies
Watercolor Teacher
Watercolor Waterfalls
Watercolor Workshop
Waterfalls
WI
Workshops
YouTube
Zoom






 RSS Feed
